Can I Patch Cracked Sidewall ATV Tire? 7 Safety Tips
Sep 01 2026
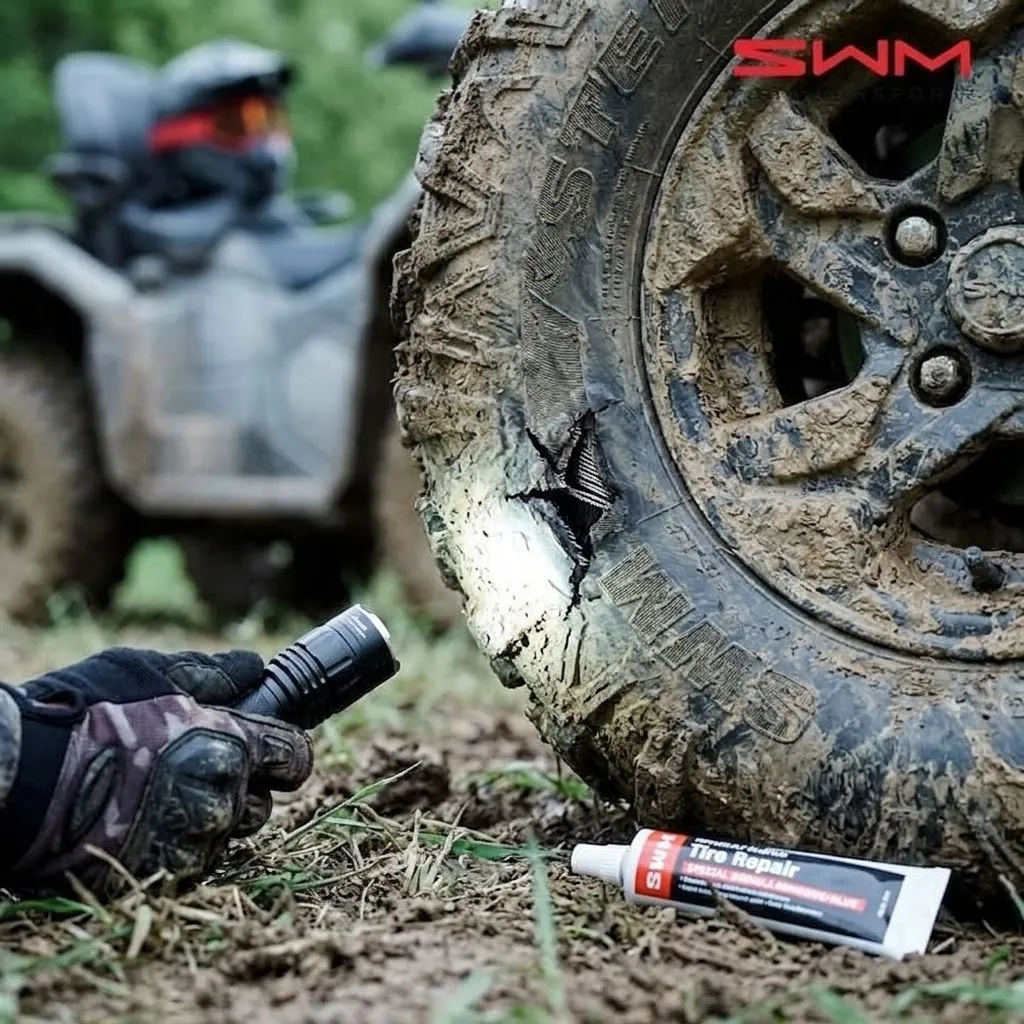
"Can I patch cracked sidewall ATV tire?" That's probably the first thing that hits you when you glance down and spot a crack in your sidewall out on the trail. The honest answer is that if the tire's internal structure is damaged, replacement is the smarter move. No question. Sure, there are repair kits. They can handle tiny nicks. They might even save you in a pinch out in the sticks. But don't fool yourself into thinking a quick patch makes that sidewall as solid as the day it left the factory. It won't.
So before you do anything, stop. Look closely. Really examine what you've got. Not all cracks are the same. Some are just cosmetic. Others are a death sentence for the tire. Whether you're doing farm work or tearing through the wilderness, you have to honestly assess the structural damage and follow safety rules. That's what keeps you safe and keeps your rims from getting wrecked too. For more on how these machines get used, check out ATV multi-purpose uses.
1. Check Your ATV Tire Sidewall Damage First
Put the patch kit down. Inspect first. Figure out what you're dealing with.
Check the Crack Size and Depth
Clean off the mud. Get a clear view. Check the crack length. More important, check how deep it goes. Is it just surface crazing from dry rot and aging? Or is it a real puncture or deep cut that goes into the inner rubber layers? Big difference.
Look for Exposed Cords, Bulges, or Separation
Grab a flashlight. Shine it right into that opening. See any exposed cords or broken threads? Stop right there. The tire is no longer safe to ride. Sidewall pushing outward? Rubber peeling away from the body? The structure's already gone. Do not ride. Not even a foot.
Check the Overall Tire Condition
Don't just stare at that one crack either. Step back. Look at the whole tire.
Tread wear. Dry rot. Other damage you might have missed. If the tire's already worn out, patching one spot won't fix anything. You're just hiding a symptom. The real problem is still there.
2. Can I Patch a Cracked ATV Tire Sidewall?
Here's the core difference. Sidewall damage and tread damage are not the same thing.
Why Sidewall Damage is Different from Tread Damage
The tread takes the pounding from the ground. Thick rubber, steel belts. That's its job. The sidewall? Flexible by design. It soaks up bumps. Bends and twists on every rotation.
So a puncture in the tread is relatively easy to seal because that part barely moves. But a cut in the sidewall flexes constantly. A simple patch just can't restore the original strength.
Safety Decision Guide
Use this checklist to decide:
Minor shallow puncture – Could work as a temporary fix. But you have to watch that pressure closely.
Deep or long cut – That crack will keep opening and closing as you ride. Patch won't hold. Replace it.
Exposed or broken cords – Do not ride. Replace immediately.
Bulge or separation – Same deal. High blowout risk. Replace it.
Large or complex damage – Have a pro look at it, or just swap it out. And don't go by cut length alone. The real safety depends on ply rating, ATV weight, and terrain.
If you do a proper patch on an eligible area, it can help preserve basic ATV off-road performance and handling while you're limping back.
3. Choose the Right ATV Sidewall Repair Method
You've checked everything. Damage looks minor. Good. But you still need the right method. Because patches are not interchangeable.
Repair Method | Typical Use | Key Limitation / Risk |
Sidewall Patch | Minor, localized rubber damage on the sidewall. | Needs strong cement. Must follow the manufacturer's size limits. |
Tire Plug | Punctures in the thick tread. | Not for sidewalls. Flexing will likely push it out. |
Internal Patch | Professional repair, tire off the rim. | Better seal, but still doesn't restore full structural strength. |
Sidewall Repair Kit | Emergency trailside fix. | Temporary only, unless the maker says it's permanent. |
4. Follow These Steps to Patch an ATV Tire Sidewall
Trailside patch work? Don't rush it. Prep work makes or breaks the repair. Skip one step and the whole thing fails.
Step 1 – Deflate and Clean the Tire
Park the ATV securely. Let all the air out if the kit requires it.
Clean that damaged area. Water works. Alcohol wipe works too. Get rid of mud, grease, any oily residue. Let it dry. Moisture and glue do not mix.
Step 2 – Prepare the Rubber and Clean the Surface
Debris still stuck in there? Follow your kit's instructions to remove it.
Then buff the area around the crack. Rough up that smooth, oxidized layer. Get down to fresh, raw rubber. That's what the adhesive needs to grab onto.
Step 3 – Apply Adhesive and Install the Patch
Spread the glue evenly. Wait until it gets tacky. The instructions will tell you when.
Press the flexible patch firmly onto the center of the crack. Use a small roller or even your thumb. Press from the center outward. Push out every air bubble.
Step 4 – Let the Repair Cure
Be patient. Let it cure for the full time the manufacturer recommends. Some products need a few minutes. Others take longer. Cold outside? Give it extra time. Don't cut corners here.
Step 5 – Reinflate and Check for Leaks
Pump the tire back to recommended cold pressure. Spray soapy water on the patched area. Bubbles? Hissing sound? Repair's no good. Do not ride on it.
5. Be Careful With Large Cuts and Uneven Sidewalls
Some cracks are trickier than others. Here's what to watch for.
What If the Crack Is Over Raised Letters?
Crack running right across those big raised letters? That uneven surface makes it hard for a patch to seal. Carefully buff that area flat. Follow your kit's instructions for leveling it out.
What If the Crack Is Near a Tire Lug?
A cut close to a tread lug takes extra stress. That lug grips the ground and twists when you turn. Buff carefully around it. Don't gouge out too much rubber. And please – never use a torch to speed up curing. That's just asking for trouble.
Can You Repair a Large ATV Sidewall Cut?
Some specialty shops show off big-cut repairs with stitching and double patches. But on a heavy ATV or at speed, the forces pulling that cut open are huge. Patches can't always hold. For a large cut, replacement is the safe call.
6. Test the Repair Before You Ride
You've patched it up. Feels good. But don't just jump back on the gas. Test it first.
Check the Tire for Air Leaks
After you inflate, give the pressure a minute to settle. Then check for leaks again. Still losing air? That means the patch didn't hold. Riding on it? Not an option.
Start With a Slow Test Ride
If the tire holds air and feels solid, do a slow test ride. Find a flat, open stretch. No sharp turns. No hard throttle. Definitely no jumps. Just cruise and feel how it responds. Handlebar feels off? A weird vibration? Stop right there. Check the tire again before you go any further.
Treat Trail Repairs as Emergency Solutions
That's all it's meant for. Not a permanent fix. Get back to base, have a pro look at it. They'll tell you if it can be properly repaired or if you need a new tire.
7. Know When to Replace the ATV Tire
Knowing when to throw in the towel matters just as much as knowing how to patch.
Replace the Tire for Structural Damage or Persistent Leaks
Broken cords. Spreading cut. Bulge. Separation. Any of these? Tire's done. No patch.
Patch it once and it still leaks? Don't pile on more glue. Cut your losses. New tire. Because that new tire costs less than a wrecked machine or an ER visit.
Match Your Vehicle and Tires to the Terrain
Keep this in mind. Cold tire pressure needs to stay at the recommended level. Drop too low and the sidewall gets pinched between rocks and the rim. That causes damage you can't even see.
Don't overload your ATV either. Extra weight makes those sidewalls flex harder. That builds heat. And heat is what kills tires.
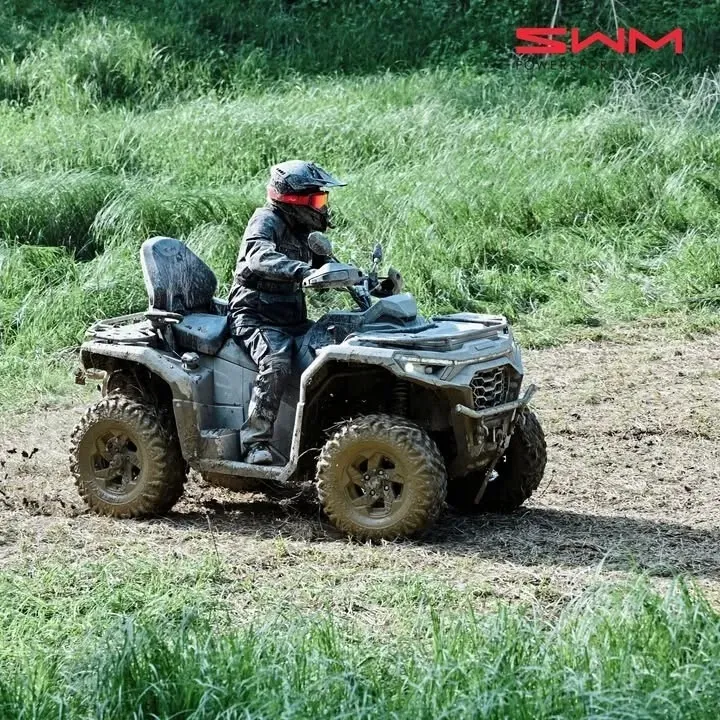
Choose Equipment Matched to Your Terrain: If you're constantly riding on rocky trails or performing heavy outdoor work, choose a machine built for those demands. Riders looking for off-road capability and puncture resistance should evaluate models with robust ATV safety features—such as the SWM Trailhunter Series, which offers generous ground clearance, sturdy payload capacity, and factory-matched tire specs for diverse outdoor environments.
Conclusion
Here's what it comes down to. Safety first. Broken cords, bulges, deep cuts – those mean replacement. Only way to stay safe on the trail.
Not sure about your tire condition? Need maintenance advice for your ATV? Don't guess. Reach out to your local SWM authorized dealer. They'll give you the expert guidance and service you need to ride with confidence.
-
Oct 15 2026
learn more
 How UTVs Make Everyday Ranch Work Faster & Easier
How UTVs Make Everyday Ranch Work Faster & Easier
How UTVs Make Everyday Ranch Work Faster & Easier
-
Oct 14 2026
learn more
 What's the Difference Between an ATV and a UTV?
What's the Difference Between an ATV and a UTV?
What's the Difference Between an ATV and a UTV?
-
Oct 14 2026
learn more
 Should I Buy an ATV or UTV for My Farm?
Should I Buy an ATV or UTV for My Farm?
Should I Buy an ATV or UTV for My Farm?
-
Oct 14 2026
learn more
 What Are Good Alternatives for Side-by-Side (UTV) Vehicle Insurance in the US?
What Are Good Alternatives for Side-by-Side (UTV) Vehicle Insurance in the US?
What Are Good Alternatives for Side-by-Side (UTV) Vehicle Insurance in the US?