How to Prepare Your ATV for Winter Storage
Sep 10 2026
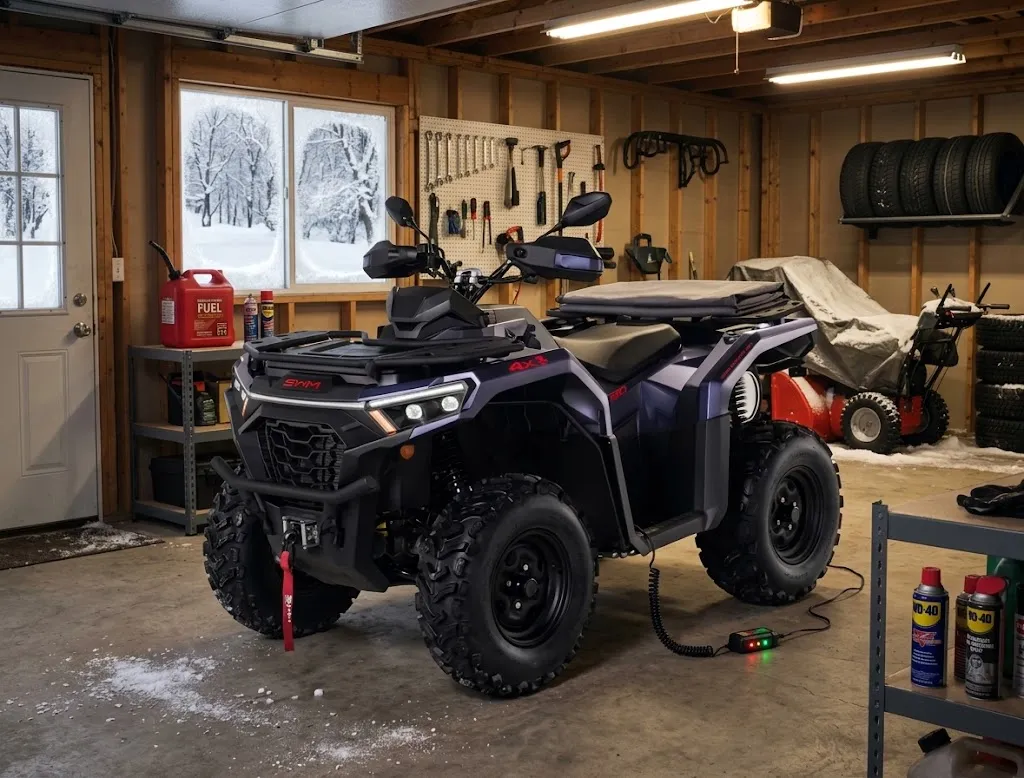
Simply storing your ATV in the garage after the riding season, waiting until spring to use it again, doesn't constitute proper winter storage. Prolonged inactivity can damage the ATV's battery, fuel system, tires, fluids, and exposed metal parts, especially in cold, damp environments.
Proper ATV winter storage helps protect the vehicle's critical components during the off-season and makes it easier to start and resume normal operation when the weather warms up. Performing some simple maintenance before storage can reduce corrosion, battery depletion, fuel-related malfunctions, and other problems caused by prolonged parking.
Why Is Winter Storage Important for an ATV?
Even if the ATV is not in use, prolonged parking can still cause some problems. Low temperatures, moisture, condensation, long-term stored fuel, and decreasing battery power can all affect the vehicle during several months of idleness.
For instance, fuel stored for a long time may deteriorate, increasing the likelihood of problems when it is restarted; batteries also lose power over time. If there is moisture around the frame, suspension system, or other metal parts for an extended period, corrosion may occur.
Therefore, ATV winterization is not merely about covering the vehicle with a dust cover; it requires comprehensive preparations for the engine, fuel system, battery, tires, fluids, and storage environment.
Step 1: Give Your ATV a Thorough Cleaning
Never leave the dirty vehicle parked directly. Soil, mud, salt and grass debris will lock in moisture and stick to the metal and plastic, causing rust and corrosion throughout the winter.
Wash the entire vehicle, including the chassis, fenders, suspension components and radiator fins.
Use a medium-pressure high-pressure water gun or a hose with a nozzle. Focus on cleaning hard-to-reach areas.
If necessary, remove oil stains around the engine and transmission system.
Thoroughly rinse and completely dry the ATV. The moisture under the cover is worse than without a cover.
Optional but recommended: Apply a layer of wax to the painted surface, and apply a silicone-based protective agent to plastics and rubbers.
Step 2: Change the Oil and Filter
The used engine oil will mix with combustion by-products and various impurities. Over time, it will gradually become acidic. If the old engine oil remains in the engine for a long time, it may cause internal corrosion of the components after several months of use.
First, completely drain the old engine oil and simultaneously replace the oil filter. Then, add new engine oil according to the standard. After adding the new oil, start the engine and keep it running at idle for several minutes to allow the new oil to fully penetrate and cover all the internal components of the engine. This is one of the most crucial operation steps for maintaining the long-term stable operation of the engine and ensuring the overall lifespan of the machine.
Step 3: Treat the Fuel System
If fuel is stored for a long time, it may deteriorate. After the fuel deteriorates, it can easily cause clogging of the fuel injector or carburetor, resulting in difficulties in starting in the following spring. In severe cases, it can even cause component damage.
For the majority of ATV equipment, the product instructions can be referred to for the addition of reliable fuel stabilizers, such as STA-BIL or Sea Foam products. Then, add new fuel and fill the fuel tank to a state close to full capacity. This will reduce the volume of air in the tank and minimize the formation of condensate water. After the filling is completed, start the engine and run it for 5-10 minutes to allow the fuel treated with the stabilizer to flow through the fuel lines, fuel pump, fuel injector, and carburetor, achieving a circulation protection for the entire fuel system.
Step 4: Care for the Battery
Cold weather will accelerate battery discharge. Dead batteries are one of the most common troubles in spring.
Try to disconnect and remove the batteries as much as possible.
Clean the terminals and remove any corrosion.
Store the batteries in a dry place with a temperature above the freezing point.
Connect the intelligent battery maintainer/floating charger to maintain the battery charge without overcharging.
If it is impossible to remove the batteries, at least disconnect the negative terminal and use a waterproof maintainer if possible.
Step 5: Check and Service Other Fluids
Coolant: Check the level and antifreeze grade. If the coolant is old or the proportion is incorrect, flush it and refill. Clean the debris remaining on the fins of the radiator.
Brake fluid: Add it up to the full level if necessary, and check for contamination.
Differential/Gearbox/Transmission oil: Check the level and replace according to the maintenance schedule.
Step 6: Lubricate Moving Parts
Proper lubrication of the moving parts can protect the metal surfaces and ensure smooth operation of all components. Add lubricating grease to all the grease nipples, suspension points, steering joints and other lubrication points. Lubricate the control cables, throttle and brake linkage mechanisms as well. For models with chain drive, it is necessary to clean the chain and chain wheels first, and then perform lubrication maintenance.
Apply a thin layer of engine oil at the exhaust port to prevent rust. Then, use stainless steel velvet to seal the exhaust port to prevent small animals from entering the equipment. For other opening positions such as the air intake port, do the same if necessary. Remember to keep a reminder note to remind yourself to remove these sealing pieces when you start the equipment in the spring of the next year.
Step 7: Protect the Tires
Low temperatures will reduce tire pressure, and prolonged weight-bearing can cause bulges.
Inflate the tires to the recommended pressure (or slightly higher).
If possible, use a jack or wooden blocks to lift the ATV off the ground, so that the tires are off the ground. This can reduce the pressure on the sidewalls and suspension.
If the tires must be on the ground, try to move them slightly every few weeks, or at least check the tire pressure regularly.
Step 8: Final Inspection and Air Filter
Thoroughly clean or replace the air filter, and wipe clean the air filter box. Take advantage of the opportunity when the entire machine is clean and easy to maintain to carefully inspect the fuel lines, wiring harnesses, plastic components, and tires. Check for any cracks or damages. Pay attention to any leakage or wear and tear that the equipment has experienced in the past, and make a record of the faults that need to be addressed in the coming spring.
Step 9: Cover and Store Correctly
Use a high-quality, breathable ATV-specific vehicle cover. Avoid using non-breathable plastic tarpaulins, as these will trap moisture.
Ideal storage location: A dry, well-ventilated garage or shed with a relatively stable temperature. A temperature-controlled storage space is preferred.
If outdoor storage is necessary, ensure the machine is fully prepared, elevate it off damp ground if necessary, and protect it with a sturdy, waterproof vehicle cover.
Place rodent repellent nearby (peppermint oil, commercial rodent repellent, or rodent traps). Avoid storing near pet food or grains to prevent attracting animals.
Quick Winterization Checklist
Thoroughly clean and completely dry
Replace with new engine oil and filter element
Fuel has been stabilized (and circulated system) or has been emptied
Battery has been removed/connected to maintenance device
Coolant, brake fluid and other liquids have been checked
All moving parts have been greased and lubricated
Tires have been inflated/raised when possible
Air filter has been cleaned or replaced
Exhaust ports and openings have been protected from small animals
Covered with a breathable car cover and stored in a dry place
Summary
Storing an ATV for the winter doesn't require complex maintenance. Just cleaning the vehicle, checking the fluids, handling the fuel, maintaining the battery, inspecting the tires, and choosing the right storage environment can help the ATV survive the off-season in better condition.
Before resuming riding, conduct a thorough inspection and a short-distance test again, and you can enter the next season with greater peace of mind.
-
Oct 23 2026
learn more
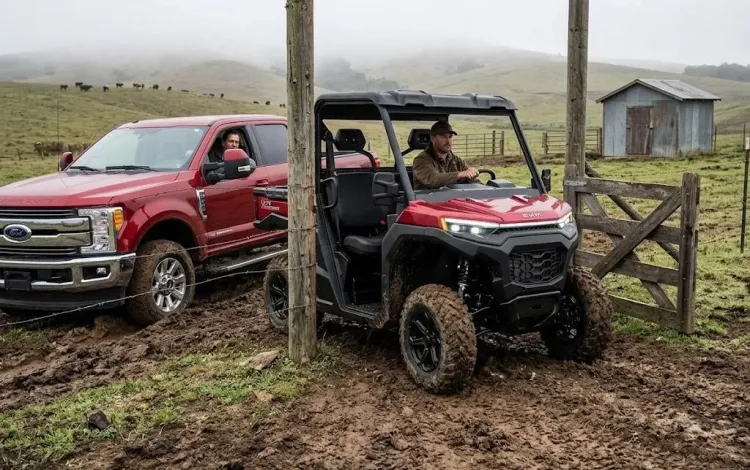 Is a Side-by-Side Considered a Motor Vehicle in the US?
Is a Side-by-Side Considered a Motor Vehicle in the US?
Is a Side-by-Side Considered a Motor Vehicle in the US?
-
Oct 22 2026
learn more
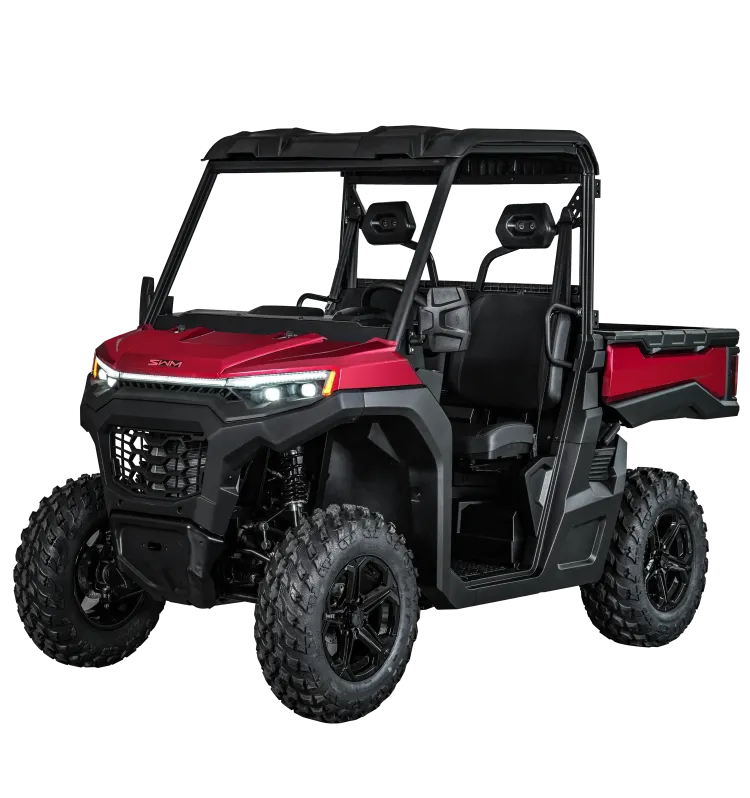 How Much Does a 4-Seater Side-by-Side Weigh for SWM UTV?
How Much Does a 4-Seater Side-by-Side Weigh for SWM UTV?
How Much Does a 4-Seater Side-by-Side Weigh for SWM UTV?
-
Oct 23 2026
learn more
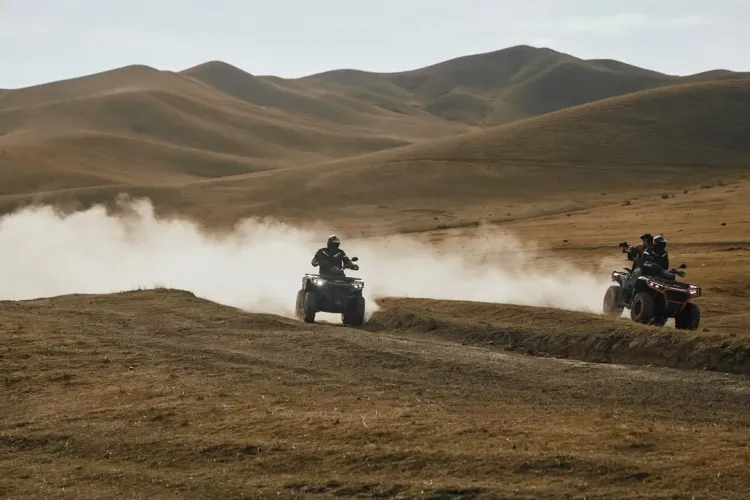 How to Plan a Weekend ATV Adventure
How to Plan a Weekend ATV Adventure
How to Plan a Weekend ATV Adventure
-
Oct 20 2026
learn more
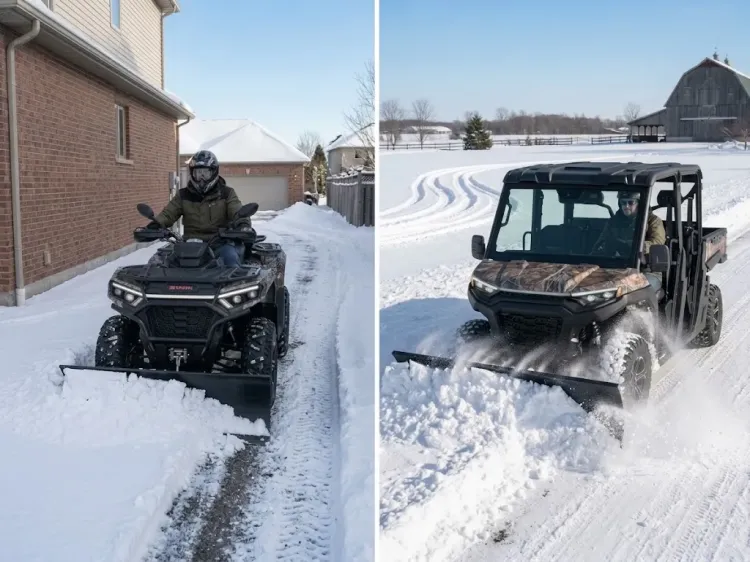 ATV vs UTV for Snow Plowing: 5 Key Differences
ATV vs UTV for Snow Plowing: 5 Key Differences
ATV vs UTV for Snow Plowing: 5 Key Differences