ATV Inspection Checklist: 10 Essential Checks Before Every Ride
Jul 22 2026
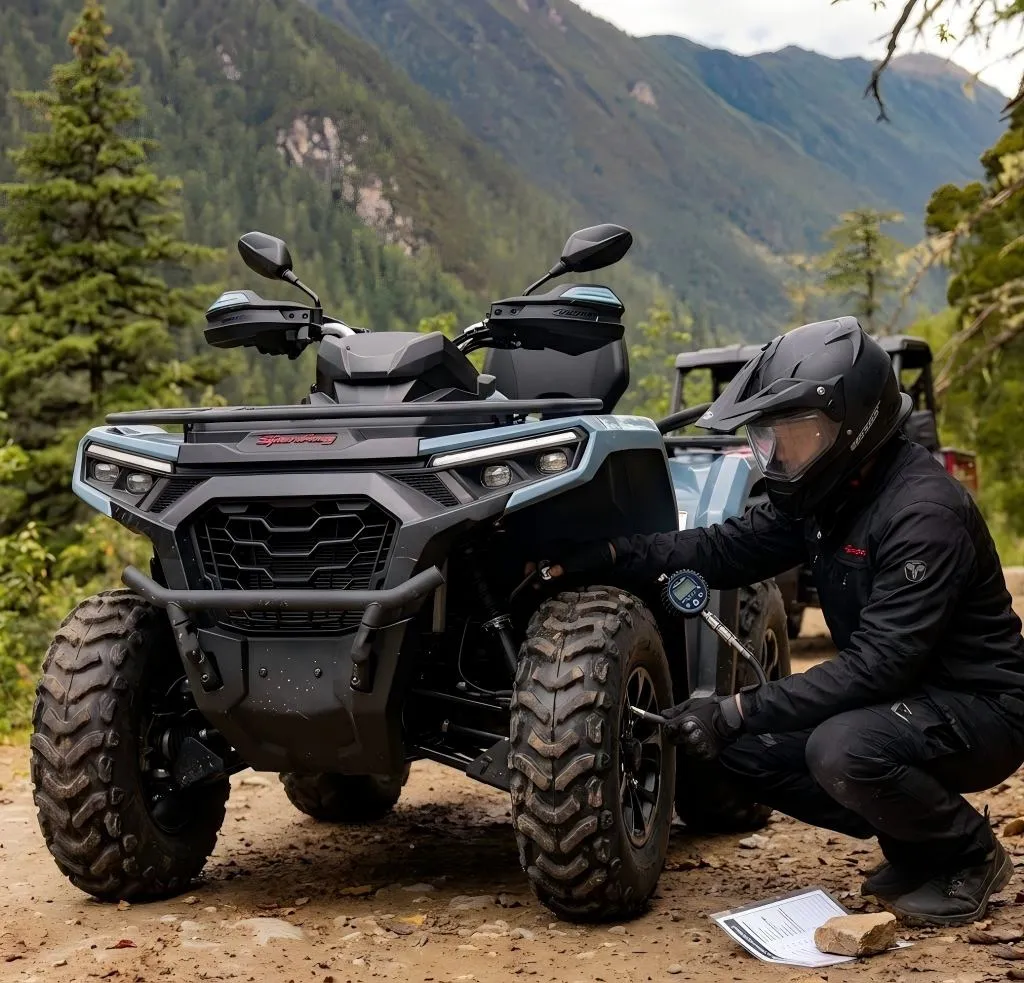
An ATV inspection is an essential 5-minute routine that helps riders identify potential issues before hitting off-road trails, muddy farmland, or rough terrain.
Are You Preparing to Ride An ATV? Whatever terrain awaits, be it muddy trails, rocky hills or open fields - your ATV is about to get tested, and if it's unprepared it could end in disaster! An inspection for ATVs should go beyond simply ticking boxes - its purpose should be ensuring you finish your ride safely without pushing an unusable machine back home again.
Never take ATV ownership lightly: these machines live hard! ATVs don't ride smoothly across pavement; instead they bounce, splash, climb, and shudder across obstacles with abandon - shaking loose bolts, chewing up rubber, and wearing out parts faster than you could ever anticipate. Even seemingly minor issues - low tire pressure, small leakage of brake fluid weeps, or loose chains can quickly become major headaches when riding into remote regions without cell signal coverage.
This ATV inspection checklist covers 10 items you should check. Taking just five minutes could potentially prevent accidents, breakdowns and worse.
Why Every Rider Needs an ATV Inspection Before Riding
Yes, I know: you want to hit the throttle right away! But let me convince you otherwise: making time for an inspection before starting up is one of the smartest habits you can acquire.
Mechanical failures usually don't happen overnight - instead they provide warning signals such as a brake lever that feels soft or creaks from the front end or an oil pool beneath your engine. But if you aren't paying attention, those signals could go undetected, leaving you on the trail regretting not paying more attention!
What exactly do the benefits of pre-ride checks entail?
Increased Safety. Your brakes, steering and throttle must respond instantly when necessary - with no delays or surprises.
Avoid Breakdowns. Navigating your garage will make finding and fixing loose bolts or cable frays much simpler than navigating up an unfamiliar slope.
Better Performance. Clean oil, correct tire pressure and tight parts simply work better - period.
Staying alive longer for your machine means being aware of any signs of wear early and replacing less-expensive parts before they damage more expensive ones. ATV features such as suspension bushings, skid plates and drivetrain components last much longer when given proper care and attention.
Mechanical engineering experts understand the significance of regular checks for ATV riders; when riders detect loose fasteners, fluid seeps or packed mud early, riders can prevent the domino effect caused by loose fasteners vibrating more and wearing out other components faster - this could ultimately save considerable costs down the line! So yes, that five-minute stroll around their ATV was worth their while.
ATV Inspection Checklist: 10 Things to Check Before Riding
Alright, here's the core list. Ten areas you absolutely need to check before every single ride. No skipping. Just a solid routine that covers the critical bits.
Inspection Area | What to Check | Why It Matters |
Tires & Wheels | Tire pressure, tread wear, cuts or punctures, lug nut tightness | Grip and stability start here. Wrong pressure or damaged tires kill your control. |
Brakes | Brake lever feel, pad thickness, brake fluid level | You need to stop. Period. Spongy levers or low fluid mean trouble. |
Engine Oil | Dipstick level, oil condition, visible leaks | Oil keeps internal parts from eating themselves. Low oil = heat + friction = dead engine. |
Coolant System | Coolant level in reservoir, radiator fins for mud or debris | Overheating is a real risk on slow, technical trails. Clean radiator and proper coolant keep temps down. |
Throttle & Controls | Throttle lever return smoothness, no cable binding | You want smooth power, and you want it to snap back when you let off. |
Steering System | Handlebar play, tie rod ends, steering components | Precise steering keeps you on track. Loose parts cause wobbles on rough ground. |
Suspension | Shocks for oil leaks, bushing wear, overall condition | Suspension keeps your tires planted. Leaks or worn bushings ruin handling. |
Drive System | Chain tension, belt condition, or shaft drive inspection | Power has to get to the wheels smoothly. A loose chain or worn belt leaves you stranded. |
Electrical System | Battery, headlight, taillight, engine cut-off switch function | See and be seen. And make sure that kill switch actually kills the engine. |
Frame & Body | Bumper, skid plate tightness, frame connections | Frame holds everything. Skid plates protect vital bits from rocks and stumps. |
How to Perform an ATV Inspection Step by Step
You don't need a mechanic's degree for this. Just follow these five steps. They take you around the machine in a logical order, so you don't miss a thing.
Step 1: Start With a Walk-Around Inspection
Before you even touch anything, just walk around the ATV. Look at it. Really look.
Check the ground beneath. Do you see any wet spots? Oil, coolant, and brake fluid all leave different-coloured puddles - if something appears out of place before riding. Additionally, examine bumper and body panels closely for cracks, missing bolts or anything that seems irregular.
Your quick visual sanity check catches any major, obvious issues right away.
Step 2: Check Tires and Suspension
Now get low and inspect the tires. Although ATV tire pressure tends to be lower than car tire pressure, it still must be correct; check your sidewall or owner's manual for the appropriate PSI reading and use a gauge on all four tires before closely inspecting tread for embedded rocks, nails, or cuts in sidewalls.
As soon as your tires have been examined, press down on both ends of the machine to observe how its suspension reacts - it should compress smoothly and rebound without too much bouncing around. Also inspect shock absorbers closely - any wetness or drips could indicate seal leaks. When riding an ATV with four wheel drive capability and extra weight/drivetrain complexity such as heavy 4wd vs 2wd atv models, pay extra close attention; increased stress on tires and suspension due to an added weight/drivetrain complexity may require greater scrutiny here.
Step 3: Check Fluids and Engine Condition
Pop the seat or the hood, depending on your model. Pull the engine oil dipstick, wipe it clean, push it all the way back in, and pull it again. The oil level should sit between the two marks. Look at the colour too – it should be honey-coloured, not black sludge.
Next, check the coolant reservoir. The level should be between the min and max lines. If the radiator fins are caked with dried mud from your last ride, clean that mess out. A blocked radiator doesn't cool, and that leads to overheating on slow trails. Ride over, right there.
Step 4: Test Brakes, Steering, and Controls
Now it's time to actually touch the controls. Sit on the ATV and get a feel.
Squeeze the brake levers. They should feel firm. If they feel spongy or pull all the way to the bar, you've got a problem – air in the lines or low fluid. Then roll the throttle forward. It should snap back to closed instantly. No hesitation, no sticking.
Turn the handlebars lock to lock. They should move smooth, no clicks, pops, or notchiness. That checks your steering components and cables for binding.
Step 5: Check Electrical System and Safety Features
Fire up the engine. Turn on the headlight. Check both high and low beams. Make sure the taillight comes on when you hit the brake lever.
Now here's a test that too many riders skip. With the engine running, hit the engine cut-off switch. The engine should die immediately. That's your emergency kill switch – it has to work every single time. If it doesn't, fix it before you ride.
ATV Daily Inspection Checklist for Quick Pre-Ride Checks
If you're riding multiple days in a row, or you just ride a lot, here's a faster version. Call it the atv daily inspection checklist. Takes about two minutes and covers the must-haves.
Tires: Walk around and eyeball each one. Any look low? Any obvious damage or punctures?
Leaks: Glance under the machine. Fresh drips? If yes, trace them.
Brakes: Squeeze the levers a couple times. Firm? Brake light working?
Throttle: Twist and release. Snaps back fast? No hang-up?
Lights & Switch: Turn on headlight. Tap the kill switch for a second – does it cut?
Mud: Knock off any big clumps from the radiator and chassis. Keeps things cool.
That's it. Quick, simple, and keeps you ahead of most problems.
ATV Safety Inspection Checklist for Off-Road Riding
A good atv safety inspection checklist goes beyond the machine. You also need to think about yourself and the trail. Here's the full picture.
1. Vehicle Safety Check
We already ran through this. Tires, brakes, steering, controls – everything on the machine needs to be in good shape before you hit dirt.
2. Rider Safety Check
Ride Safe Helmet (RSCH): Always wear one that satisfies safety standards without exceptions or excuses.
Goggles or Eye Protection: Mud, dust and branches don't spare their eyes from harm - protect them!
Gloves: Quality gloves protect both hands and increase grip for improved results.
Protective Gear: Boots, chest protectors and knee pads may all provide vital extra protection for any terrain - any additional safeguard is always advantageous.
3. Trail Safety Check
Weather: Before embarking on any outdoor adventures, always consult the forecast before setting out. Weather can change rapidly in mountains or open country environments.
Plan Your Route: Know where you're going. Inform someone not on the ride who knows about the plan.
Fuel and Supplies: When venturing deep, always carry sufficient gas, water, a basic tool kit, and some form of communication device if you become separated. A phone works, while satellite messenger or radio communication is best when there's no signal available.
Common Problems Found During an ATV Inspection
Once you start checking regularly, you'll see the same issues popping up again and again. Here's what to look for and what to do.
Tire Pressure Issues or Uneven Wear:
What you notice: Low pressure, cracked sidewalls or uneven tread wear are telltale signs.
What it means: Handling becomes unwieldy, traction diminishes. Adjust pressure as needed; replace if sidewall cracks or tread is worn-out.
Soft or Spongy Brakes:
What you may observe: The lever pulls closer to the bar than usual and braking feels weak.
What it Means: Low brake fluid or air in your lines may have occurred, requiring top up. If this doesn't help, bled your brakes professionally to solve this issue or consult a pro for assistance.
Under The Machine: Fluid Leakage Problem:
What You See: You may observe an oil, coolant or other fluid pooled under your engine.
What it Means: Low oil levels and coolant levels can damage engines, resulting in overheating issues. Locate and Fix Leaks; start by checking both oil level and coolant reservoir levels to see how much has been lost so far.
Steering and Suspension Play:
What you may notice: Either your handlebars feel loose, or there's an audible "clunk" over bumps.
What This Means: For safety purposes, worn tie rod ends or suspension bushings need to be tightened up immediately in order to prevent further issues, while worn parts need replacing before they cause major disruptions in operation.
How Often Should You Perform an ATV Inspection?
How often depends on how you ride. But here's a good rule.
Before every ride: Perform a quick pre-ride inspection that covers tires, brakes, throttle, fluid levels and lights in five minutes flat - no excuses!
After intensive off-road riding: After traversing deep mud, water crossings or challenging trails, take extra care when cleaning the radiator, inspecting skid plate mounting points and checking drive systems for debris build-up.
At regularly scheduled maintenance intervals: Consult your owner's manual and follow its recommended service schedule, changing oil, replacing filters and inspecting wear items such as brake pads and bushings at their suggested intervals - don't skip!
When Do You Need a Professional ATV Inspection?
You can handle the daily stuff yourself. But some situations need a trained mechanic or an authorised dealer.
After a major crash or rollover: The frame could be bent. Suspension geometry might be off. You need professional gear to measure and diagnose that.
Unusual engine or drivetrain noises: If your engine is knocking, or your transmission slips, do not attempt a DIY fix yourself; consult a professional immediately so they can assess and repair before worsening it further.
Complex brake or electrical faults: If your car has an ongoing brake issue or the check engine light illuminates, take it to someone who has access to diagnostic tools for evaluation.
Before an extended backcountry journey: If you plan on camping out for multiple days in remote locations, it would be prudent to get a thorough inspection by an independent shop before setting out. They will detect issues you might miss yourself and offer peace of mind.
Final Thoughts
Integrating ATV inspection into your routine is one of the best things you can do for both yourself and your machine. It doesn't take long and it keeps both safe. Plus, regular ATV checks keeps it running better longer!
No matter if it's just a quick daily walk-around or an intensive 10-point checklist, consistency counts. By performing these daily checks regularly, you will begin to notice small issues before they become bigger problems - something which will come in handy on the trail itself!
SWM designs machines for use in real off-road conditions, and to get the best performance out of any powersports vehicle requires taking proper care in its maintenance. A few minutes spent inspecting it before every ride pays dividends in terms of reliability, performance, and safety every single time you ride.
So go ahead. Do the check. Then go have fun out there. You earned it.
-
Sep 10 2026
learn more
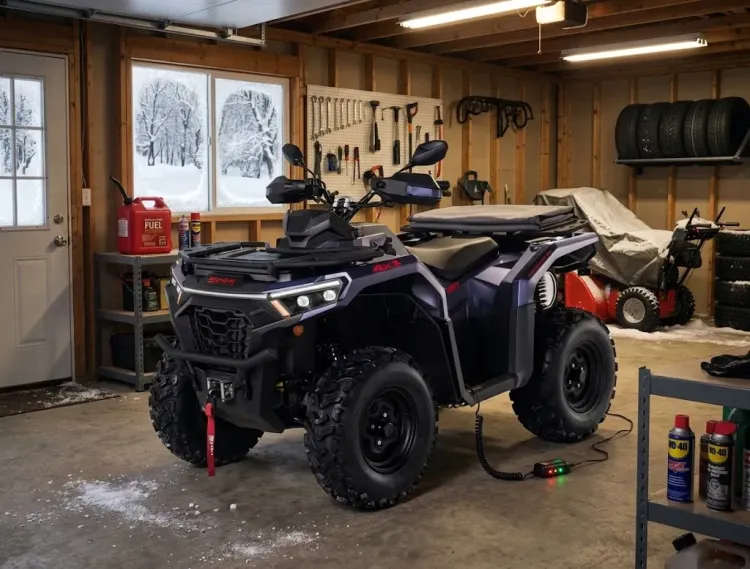 How to Prepare Your ATV for Winter Storage
How to Prepare Your ATV for Winter Storage
How to Prepare Your ATV for Winter Storage
-
Sep 09 2026
learn more
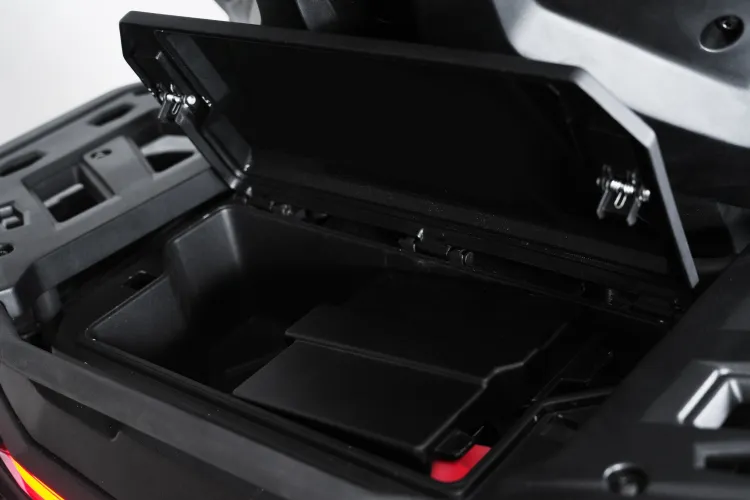 ATV Payload Capacity Guide: What You Need to Know
ATV Payload Capacity Guide: What You Need to Know
ATV Payload Capacity Guide: What You Need to Know
-
Sep 07 2026
learn more
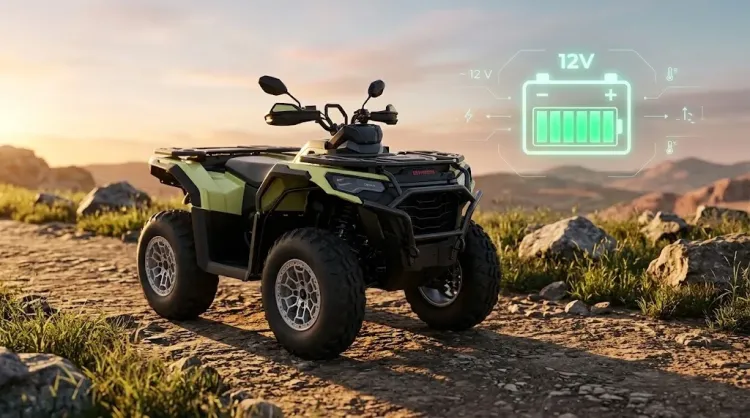 How Long Do ATV Batteries Last? 5 Crucial Factors & Lifespan Guide
How Long Do ATV Batteries Last? 5 Crucial Factors & Lifespan Guide
How Long Do ATV Batteries Last? 5 Crucial Factors & Lifespan Guide
-
Sep 07 2026
learn more
 UTV Towing Capacity: Chart, Limits, and 5 Tips for Heavy Loads
UTV Towing Capacity: Chart, Limits, and 5 Tips for Heavy Loads
UTV Towing Capacity: Chart, Limits, and 5 Tips for Heavy Loads